After installing the ShipSmart plugin, follow the step-by-step guide below to configure it correctly:
Access the Plugin
In the WooCommerce administrative dashboard, click on the sidebar menu and go to ShipSmart.
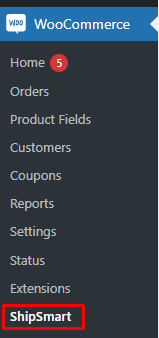
Or click directly on Settings within the ShipSmart plugin.

Configuring the Plugin
Let's configure the plugin in three steps:
1. Authentication
In the Authentication tab, enter the API Token provided by ShipSmart. If you do not have the token yet, register here to obtain it.
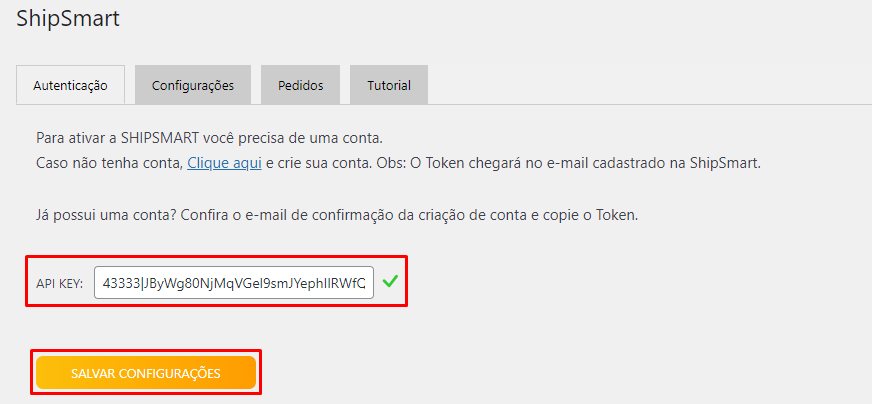
After entering the token, click Save Settings.
2. Store Settings
In the Settings tab, access Store Data and fill in the essential information about your store:
-
Store with CNPJ (Federal Tax ID): Check the "Register CNPJ" box.
-
CNPJ: Enter your company’s Federal Tax ID.
-
Store Name: Enter your store’s name.
-
Phone: Enter the store’s phone number.
-
Email: Enter the store’s contact email.
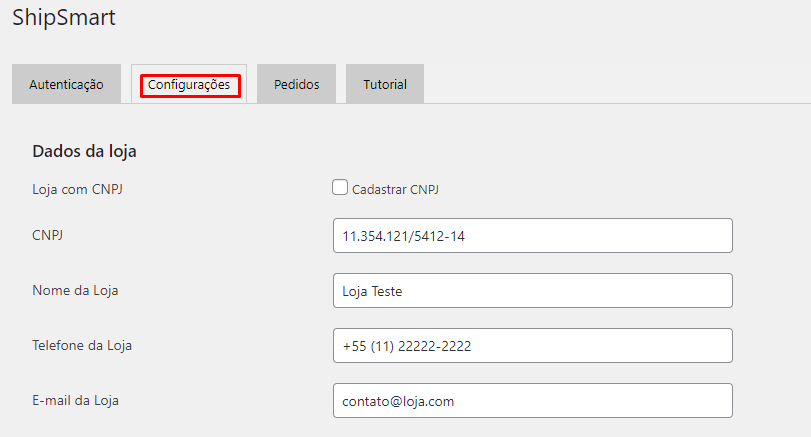
After filling in all the information, click Save Settings.

3. Register Default Boxes
In the Orders tab, you can register default boxes that will be used to calculate shipping. To do this, follow the steps below:
In Register new box, fill in the following information about the box you want to register and click Add:
-
Weight: Enter the weight of the box in kilograms (kg).
-
Height: Enter the height of the box in centimeters (cm).
-
Width: Enter the width of the box in centimeters (cm).
-
Length: Enter the length of the box in centimeters (cm).
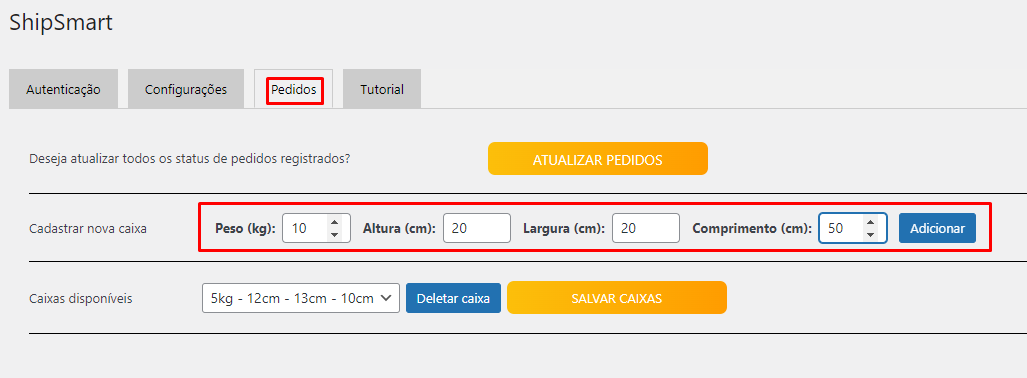
In Available boxes, you can view the registered boxes and delete those that are no longer needed.
After registration, click Save Boxes to ensure the boxes are ready for shipping calculations.
Important: If you do not register any boxes, the shipping calculation will be based on the dimensions of the products in the cart/checkout.
4. Tutorial
The Tutorial tab provides a summary of the necessary settings to activate and manage the ShipSmart plugin on WooCommerce.
This tab serves as a quick guide to ensure all necessary configurations are done correctly.